Toolbar, Settings and Preferences
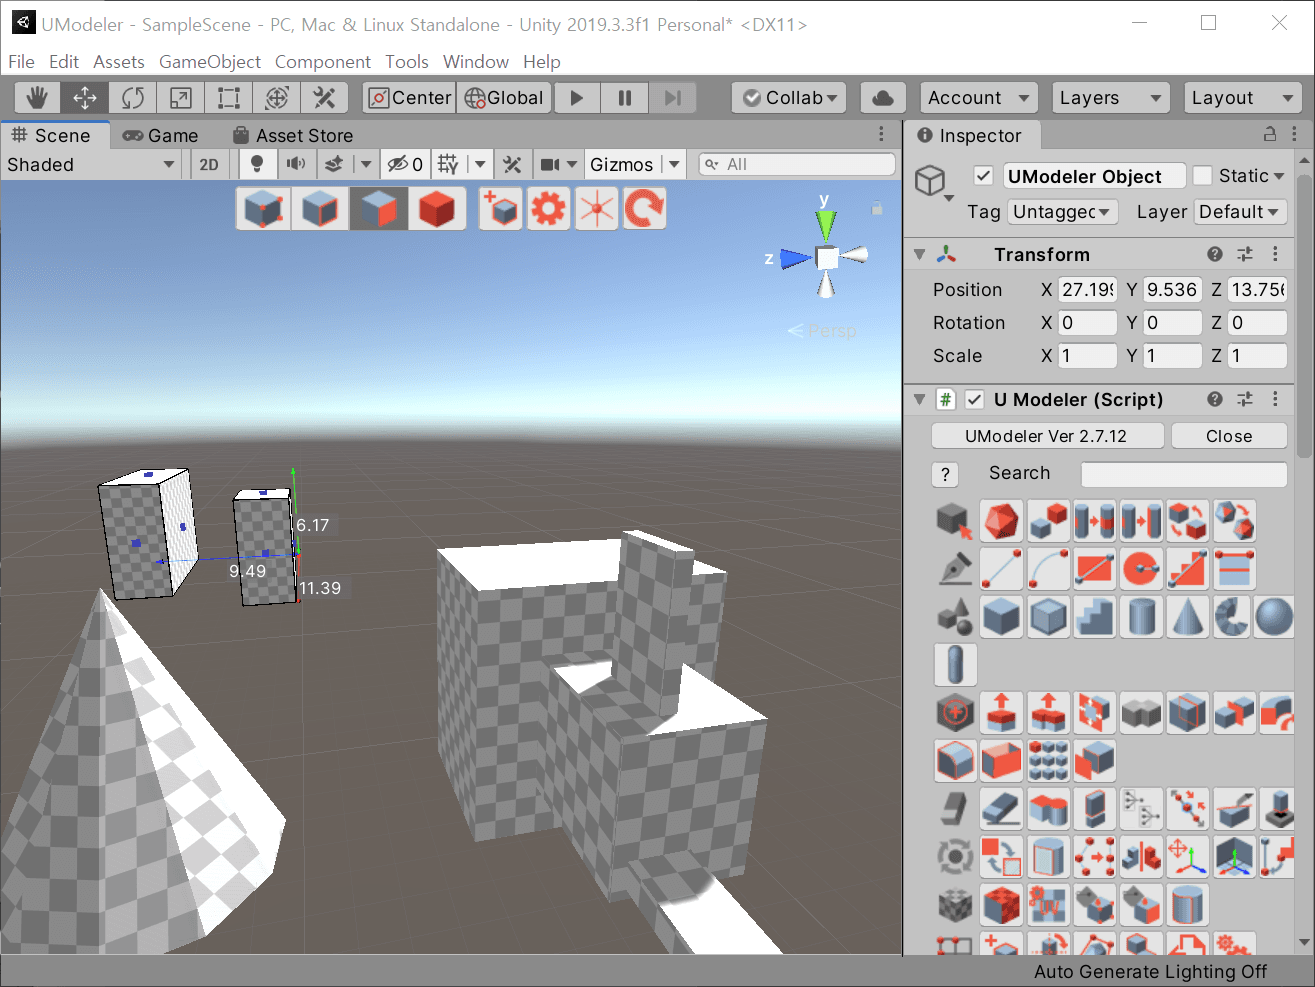
Scene view.
The top of the scene view consists of several icon buttons. They are divided into two parts as below.
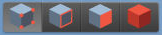
The first part has Vertex/Edge/Polygon/Object tool buttons - These are explained in the other page.

The second part consists of New UModeler object tool, Settings and 3D Cursor. We’ll cover only them here.
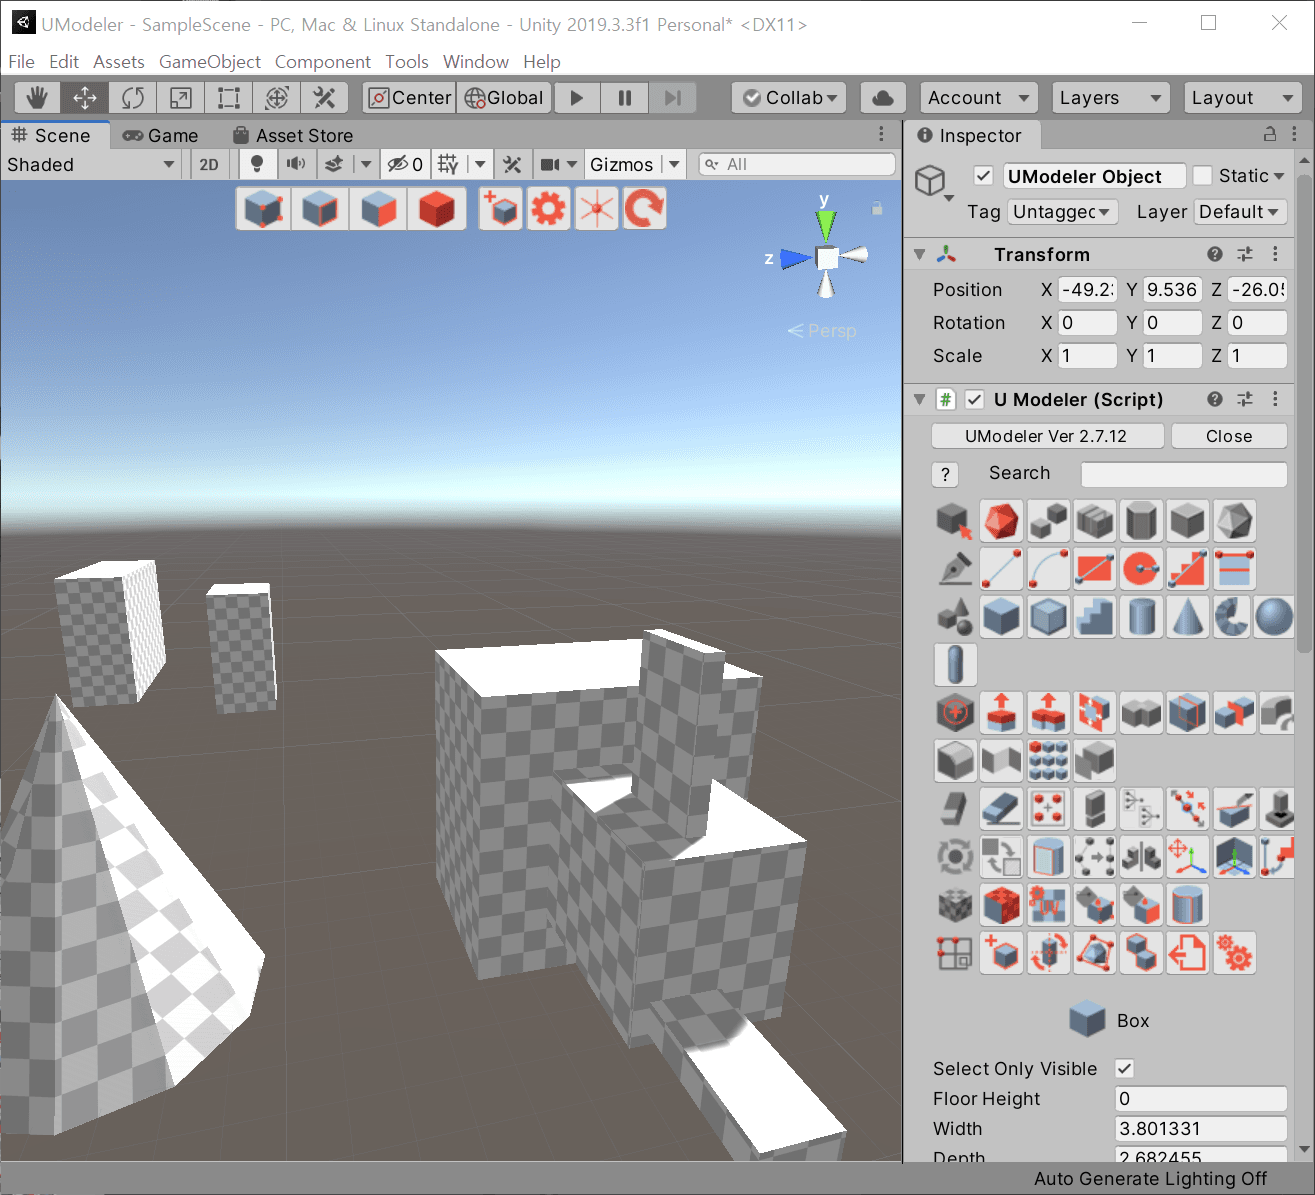
New UModeler Object
When you click on this button, a new empty UModeler object will be created in a scene. At first you can fill it with primitives shapes and 2D polygons using the tools in Primitive Shapes group and Drawing group.
3D Cursor
When this is on, 3D cursor is activated and displayed on the scene view. The pivot of rotation and scaling is the 3D cursor position at this time. And the cursor can move along X,Y or Z axis with the move tool over the cursor. If the cursor passes nearby a vertex, it will be snapped to the vertex. If you press LMB holding CTRL and SHIFT, the cursor will move to the cursor position at once. If the mouse cursor is over a UModeler mesh then, the 3D cursor will move to a picked position on the mesh.
Note
3D Cursor isn’t available in the Lite Version.
Refresh All
Refreshes all UModeler objects in the current scene to recreate all resources. It could resolve a broken mesh issue and lightmap problems etc.
Settings
Lastly we’ll take a look at Settings
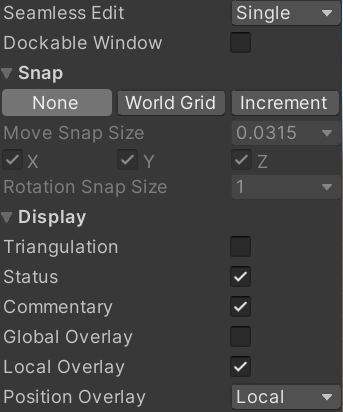
Settings on UModeler 2.7.22 or later
- Seamless Edit
Selects the UModeler object under the mouse cursor every time the mouse moves to edit UModeler objects seamlessly. The object set affected by this mode is decided according to which category is chosen.
Single: Only the selected object is a subject to be edited.All: All the UModeler objects in a scene are subjects to be edited.Group: All the UModeler objects under the identical root object are subjects to be edited.
Tip
Seamless Edit holding SHIFT while moving the mouse.- Dockable Window
If on, the settings popup window will be switched to the dockable window.
Note
Seamless Edit isn’t available in the Lite Version.
Snap
Here are the settings related to Snapping.
- Snap Type
None: No Snap is applied.World Grid Snap: Each position you are moving will be snapped to the corresponding world grid position.Increment Snap: When you move positions using gizmos, they will increase or decrease byMove Snap Size
- Move Snap Size
Custom move snap size
- X,Y and Z
Allows the world grid snap along each X, Y, Z axis.
- Rotation Snap Size
Rotation snap sizes. This is available when
Increment Snapis selected.
Important
UModeler Object is also affected by Snap settings. When Snap Type is World Grid Snap or Increment Snap, UModeler objects move by Move Snap Size.
Customizable Move Snap Size
Dockable Settings Window
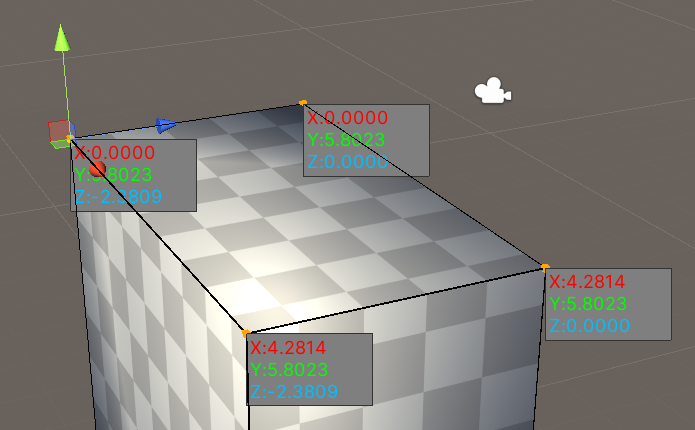
Display
Here are the settings about displaying information which helps modeling.
- Triangulation
Displays triangulated polygons. They are fed to the renderer in order to be rendered.
- Status
Shows the UModeler status in the inspector such as Total selected element count, total polygon count and total triangle count.
- Commentary
Displays UModeler commentary at the bottom on the left. You can check what key is pressed and which tool is selected etc through this.
- Global Overlay
Displays width, depth and height of the bound box of the selected UModeler mesh.
- Local Overlay
Displays specific values of the current tool. eg. How long the polygon is pushed or pulled in
PushPulltool- Position Overlay
Displays local or world position of the selected vertices.
Note
Position Overlay isn’t available in the Lite Version.
Position Overlay
Preferences
Note
Preference window isn’t available in the Lite Version.
You can set shortcuts and general settings of UModeler in UModeler Preferences window to which you can go through Tools > UModeler > Preferences in the top menu.

UModeler Preference.
- Detailed Tooltip
Enables very detailed tooltip of each tool. If you feel the tooltip occupies much space, you can turn it off.
- Lightmap by Default
When this is on, the lighting method of every new created UModeler object will be the lightmap.
- Display Polygon Preselection
When this is on, a polygon under the mouse is highlighted.
- Keep System Toolbar on always
When this is on, the toolbar at the top of the scene view is visible all the time.
- Create UModeler as Byte Stream Data.
This toggle is a function added from UModeler 2.7.26. Newly created UModeler mesh data is saved as a byte stream format.
The advantage of using Byte Stream Data is that the size of the .unity and .prefab files is reduced first, and the performance increases when loading/saving a scene and entering/exiting game mode in a scene with many UModeler prefabs.
And finally, the diff of .unity and .prefab files is reduced. Diff is the difference between the previous version of the file and the current version when saving a file on the source control.
Note
Create UModeler as Byte Stream Data is available as of UModeler 2.7.26.
See also
Pack Margin, Hard Angle, Area Error and Angle Error are described well in Generating Lightmap UVs