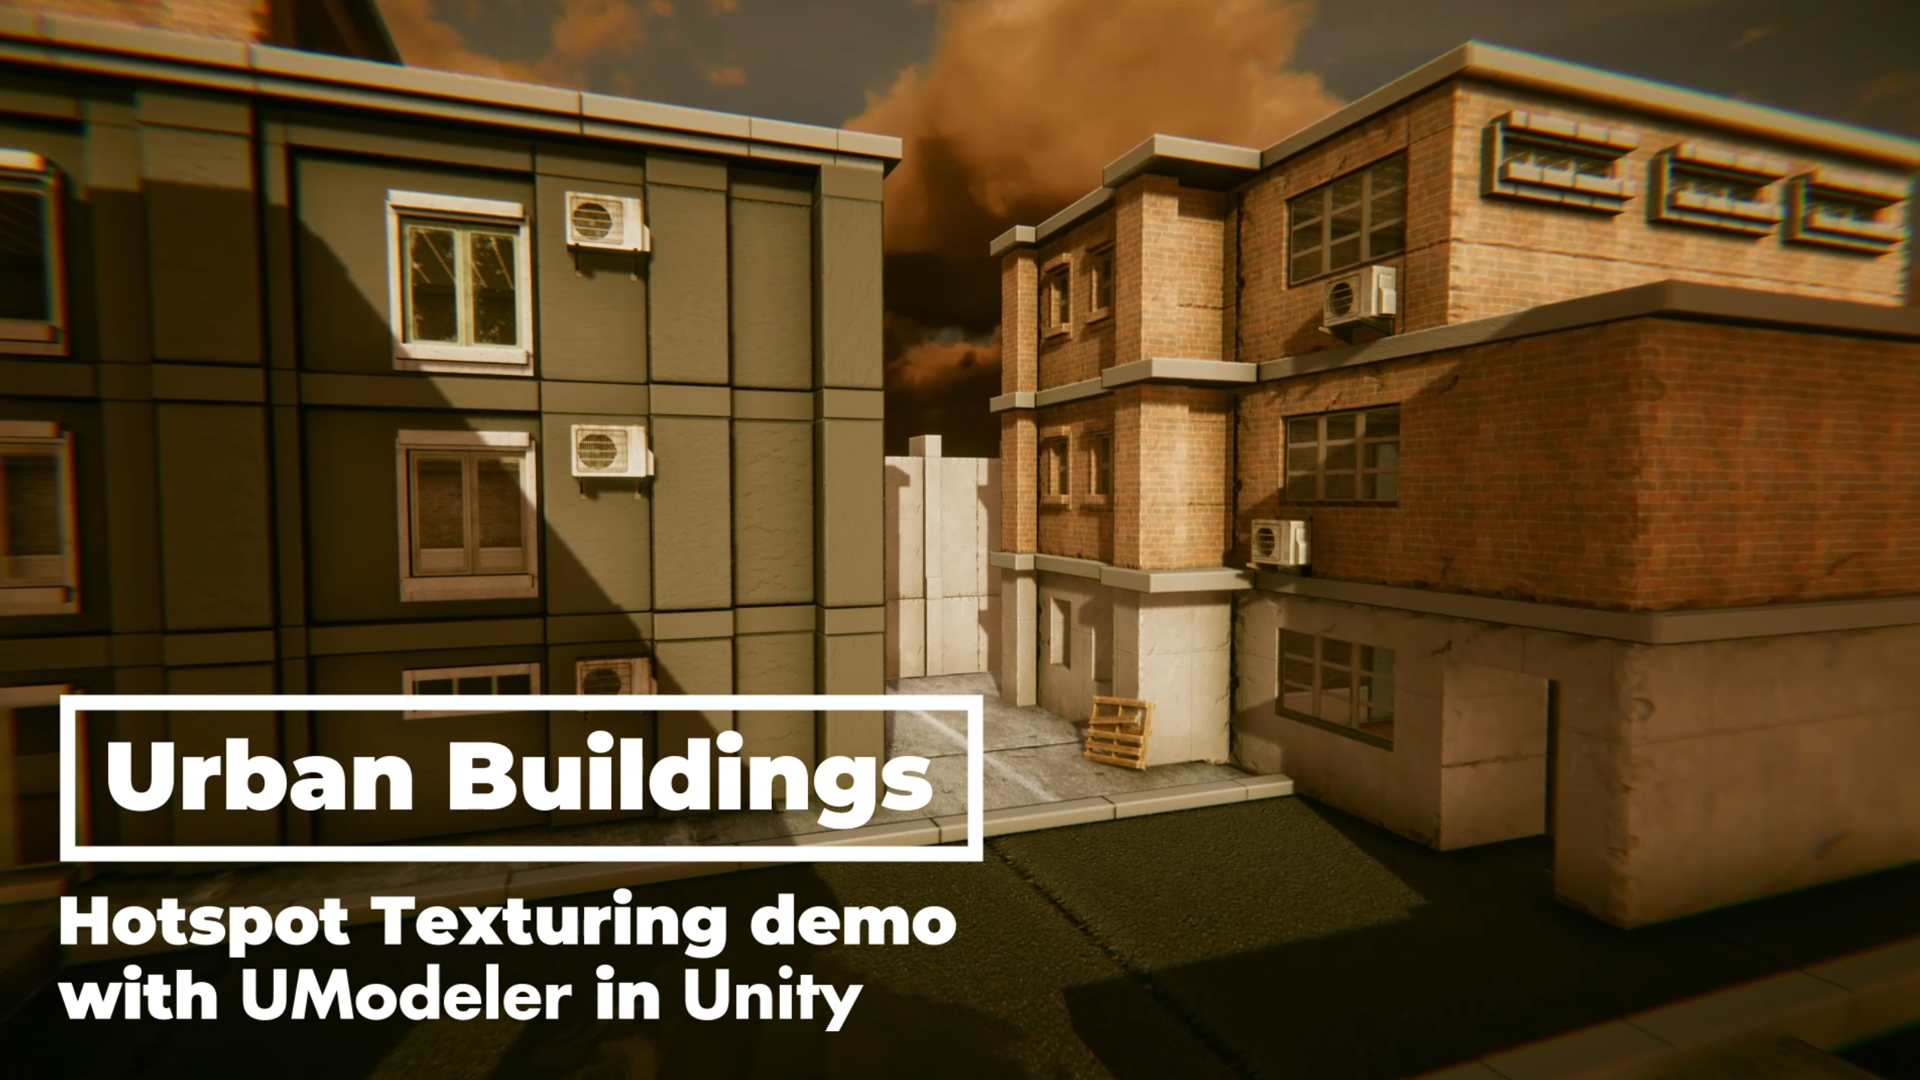
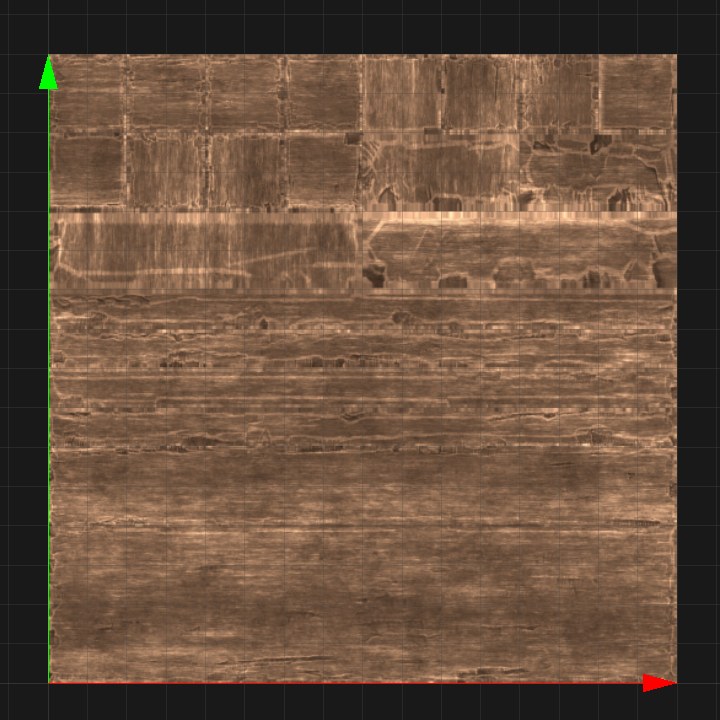
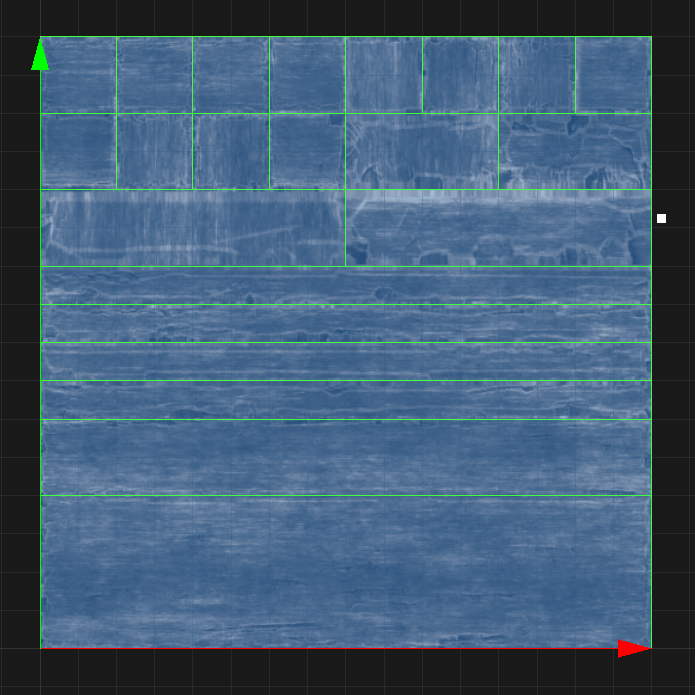
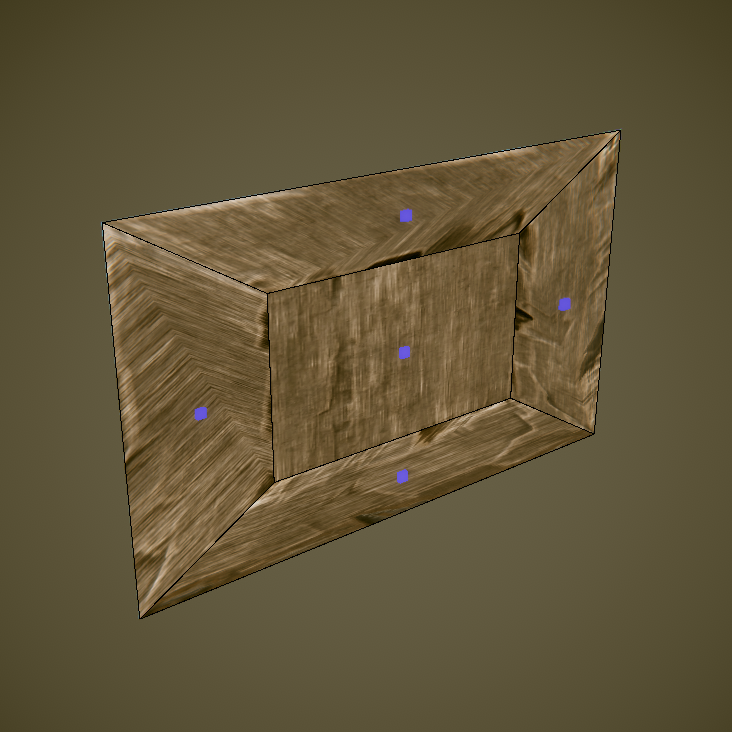
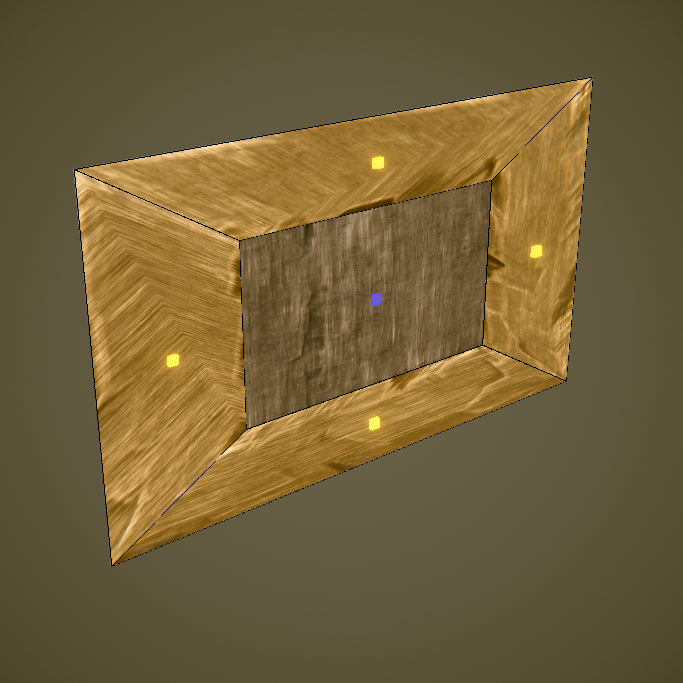
HotspotTexturing is a new feature added to the toolkit that makes UV unwrapping easier and faster. When
you define UV layouts using the hotspot layout editor, UVs of each polygon can be placed according to the predefined layouts automatically.
We’ve recorded Getting Started Tutorial video. Click Here.
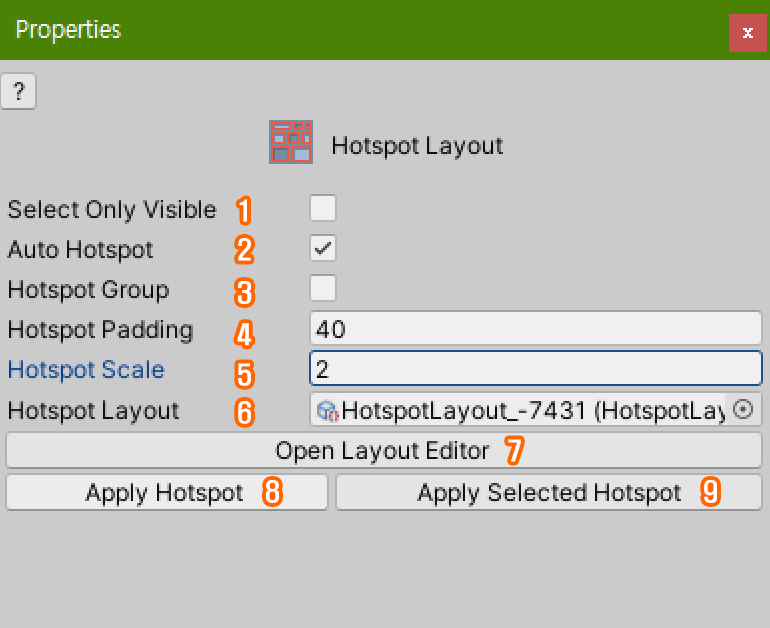
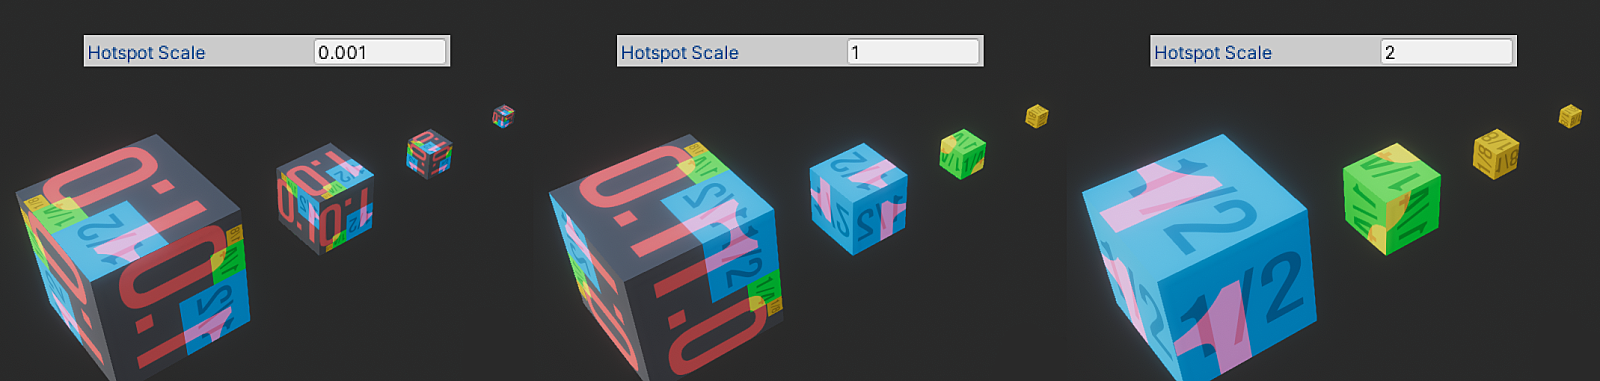
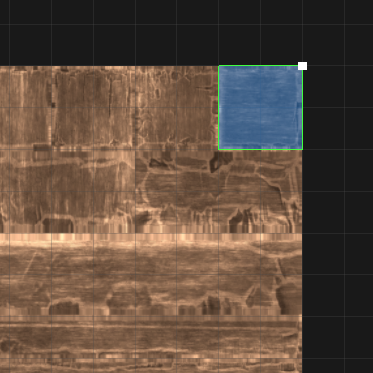
The ratio of the hotspot layout to the size of the polygon in the world.
In case of 1, the size of 1.0 in the hotspot layout and 1.0 in the world is the same.
In case of 2, 0.5 of the hotspot layout will be equal to the 1.0 size in the world.
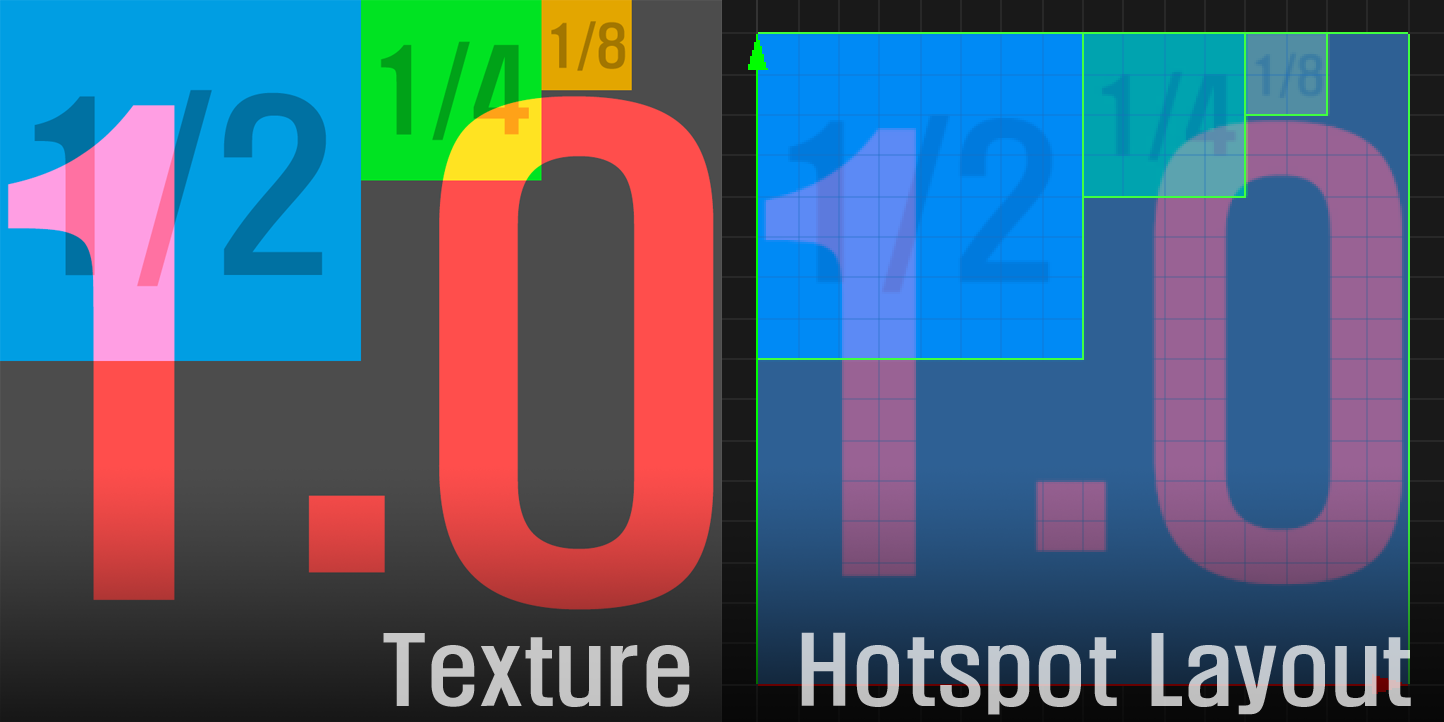
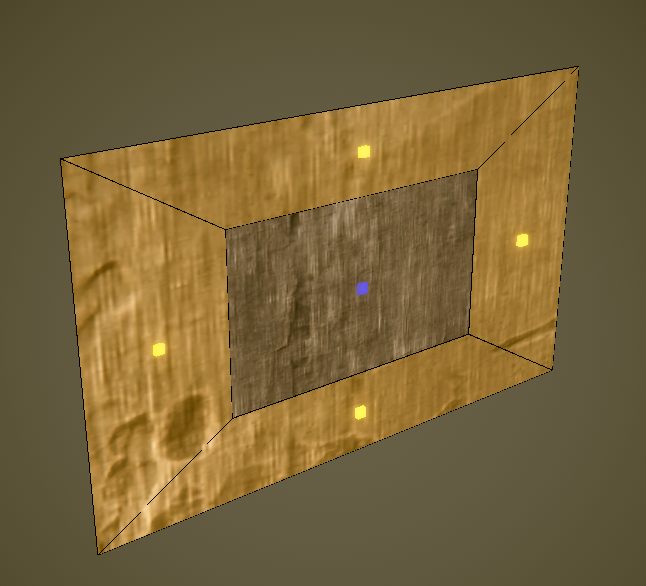
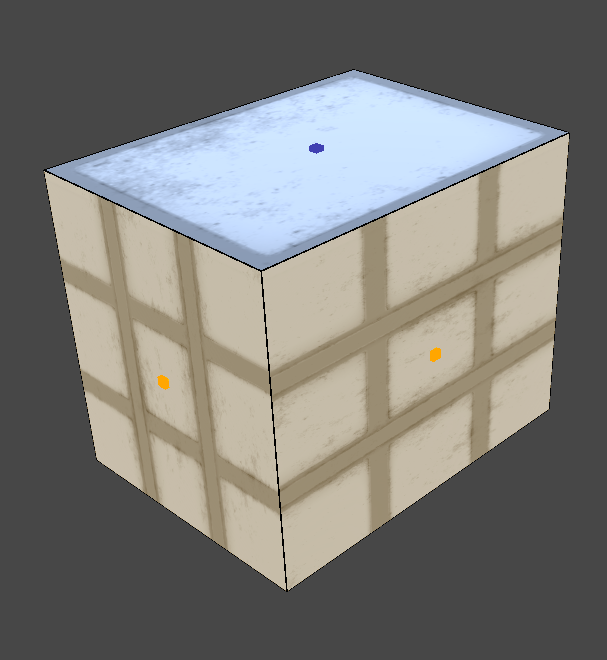
For example, when the texture and hotspot layout are configured as above, and the world size is set to 1.0, 0.5, 0.25, 0.125, respectively, and a cube is created.
You can see the UVs are placed differently depending on the hotspot scale value. If the hotspot scale is 1, you can see that a 1.0-sized cube is placed in the UVs according to the 1.0-sized layout.
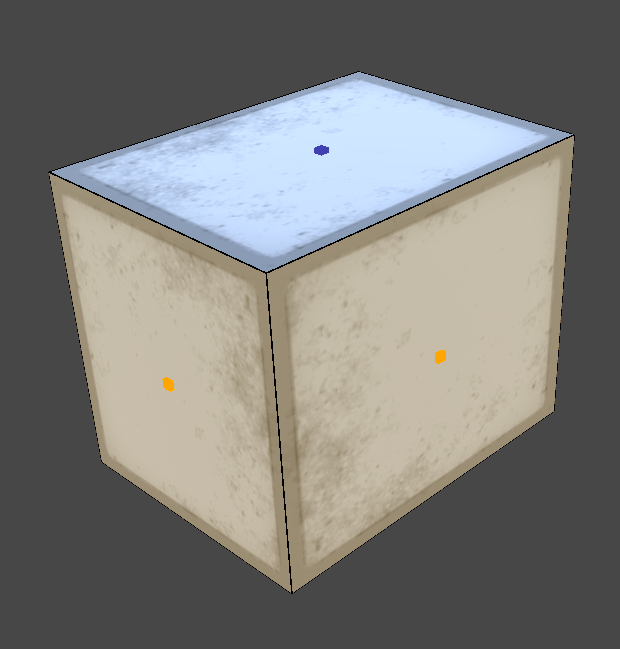
Since the 0.5-size cube is also 1/2 of 1.0 to fit the size, the UVs have been placed according to the 1/2-size layout in the hotspot layout editor.
If the hotspot scale is 2, a layout of 1/2 size is applied to a cube of 1.0 size, and accordingly, you can see that UV is placed on other sized models as well.
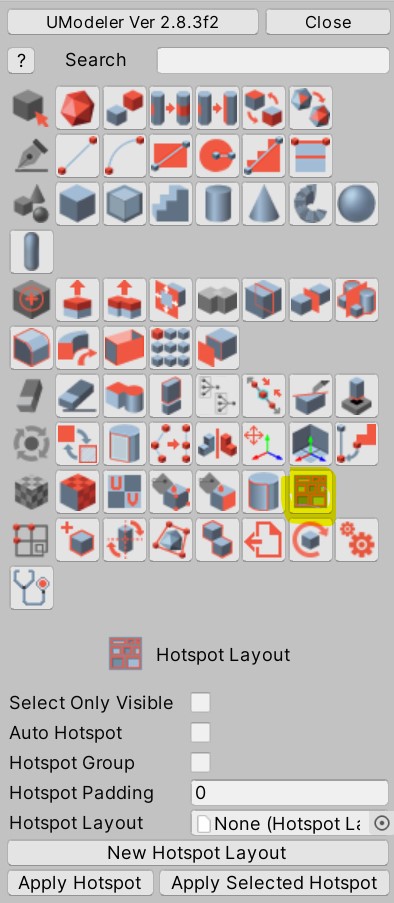
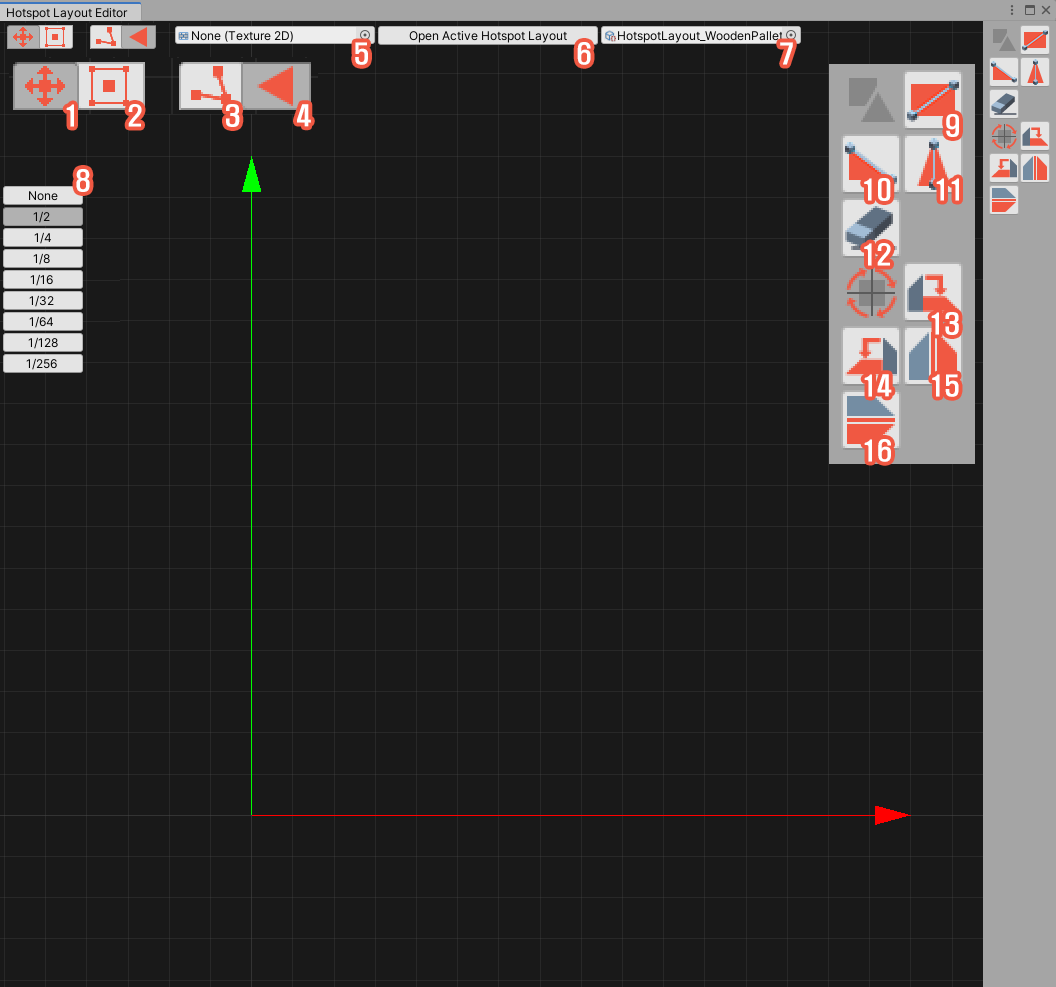
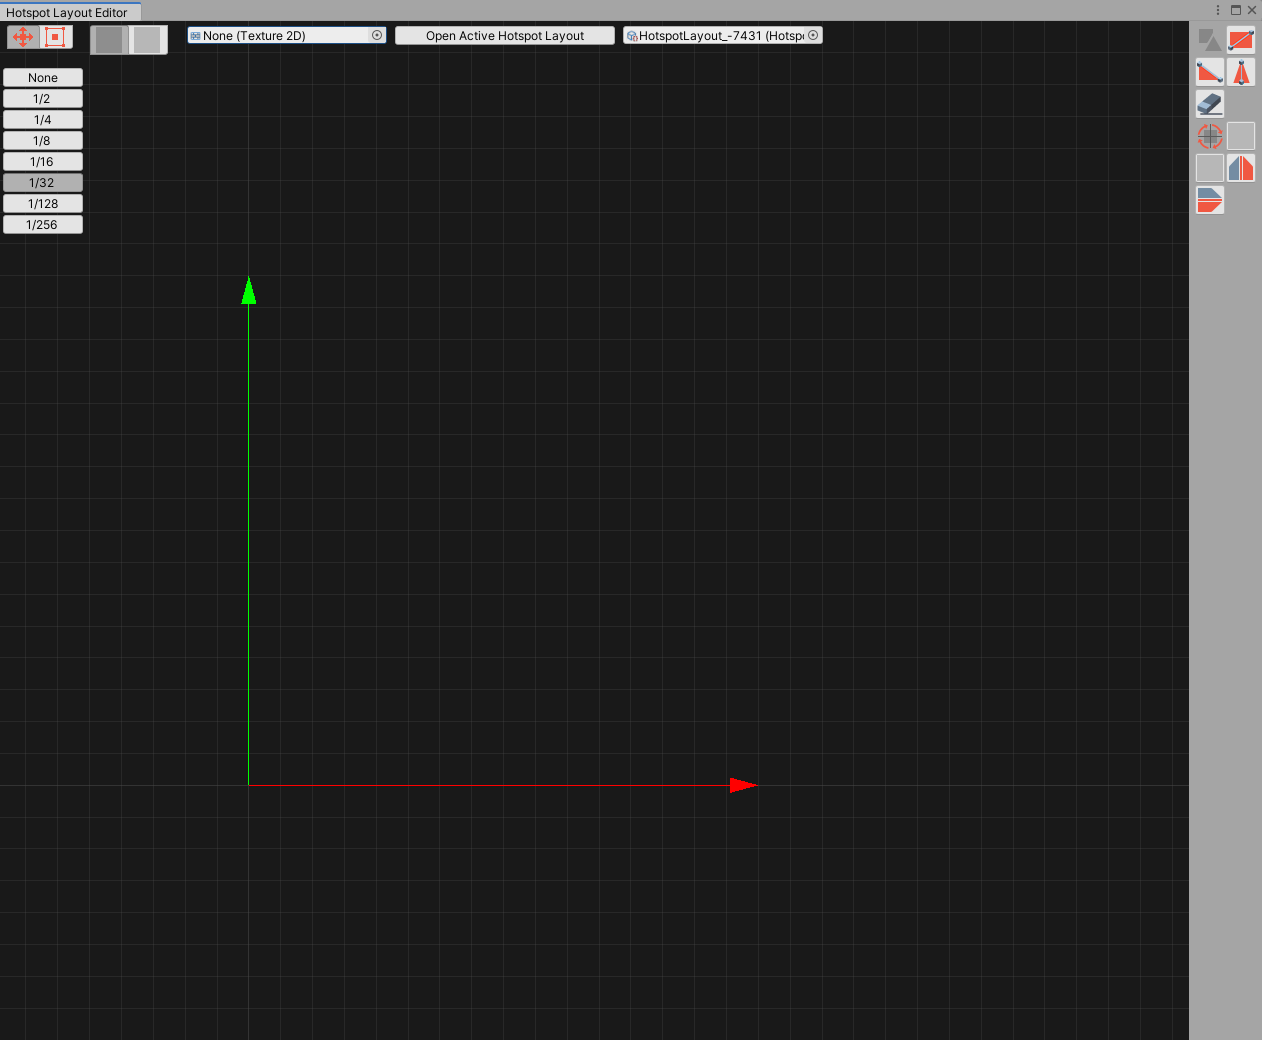
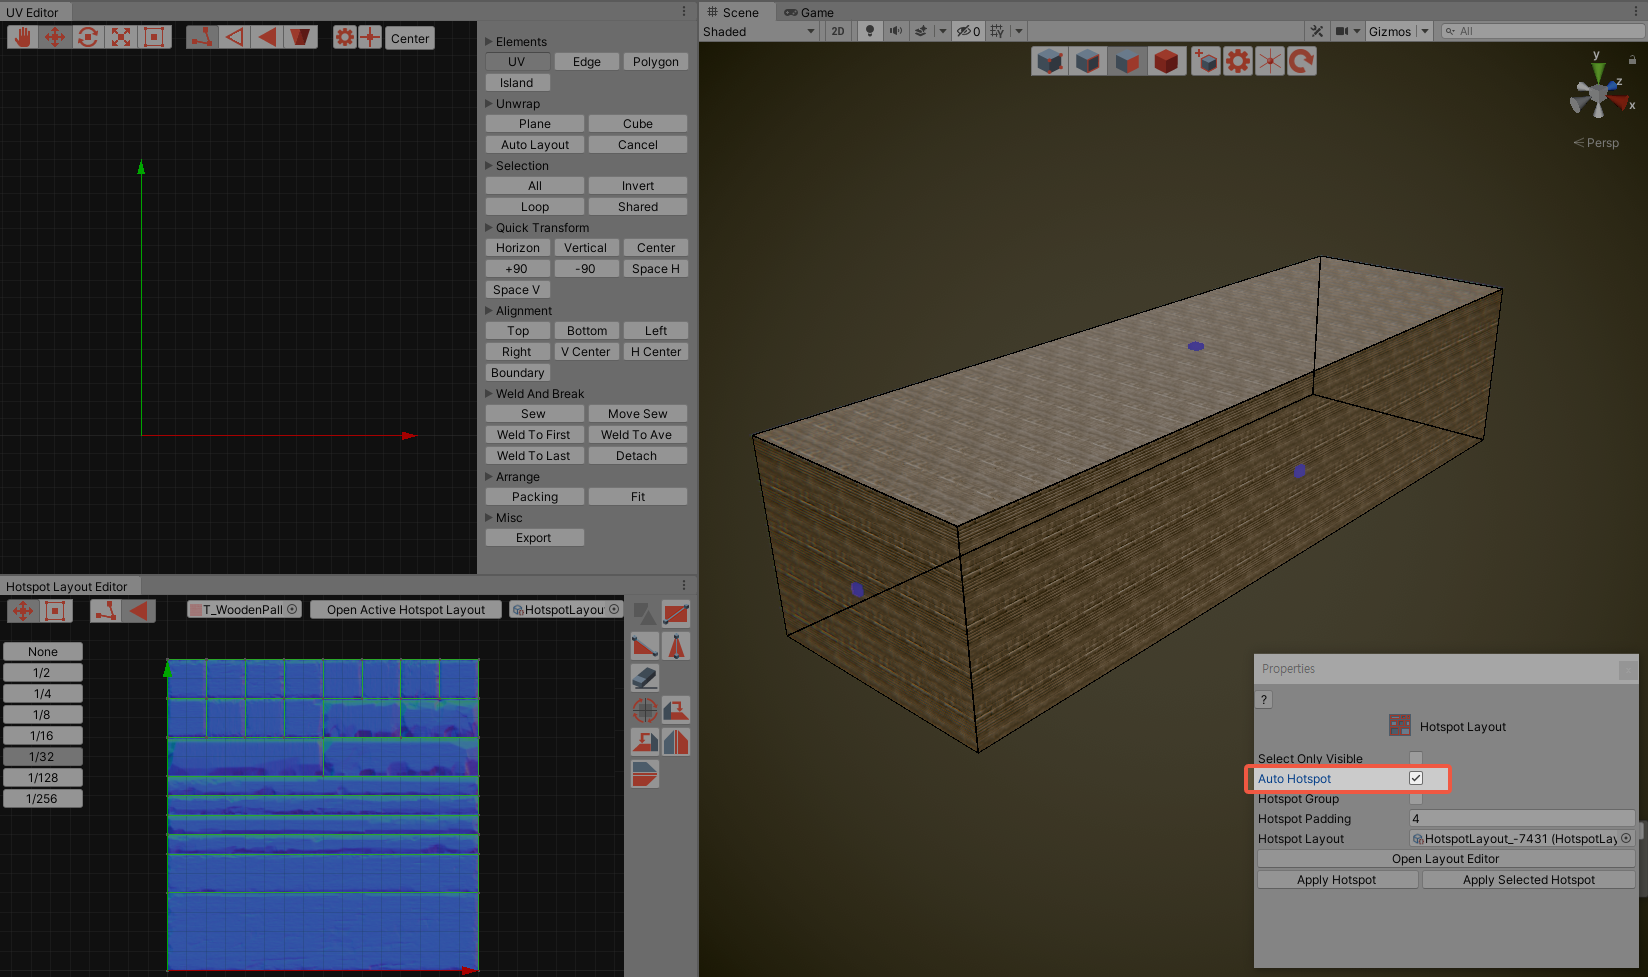
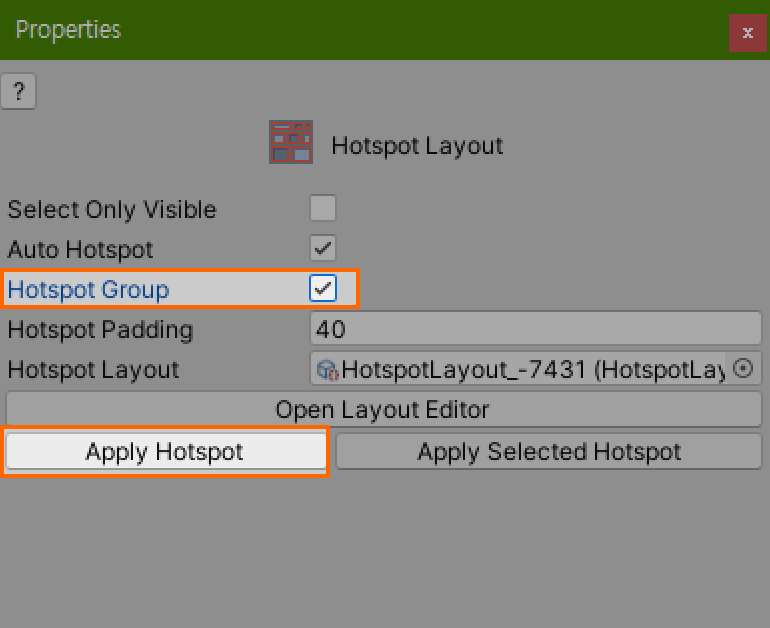
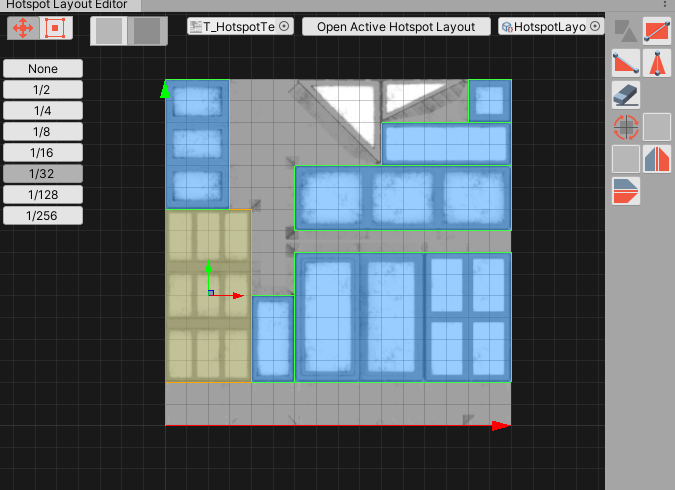
6.Hotspot Layout
Hotspot layout file. The format is .asset. This layout file can be applied to several objects.
7.New Hotspot Layout/Open Layout Editor
If a hotspot layout file isn’t set, NewHotspotLayout button is enabled so that you can create a new layout file.
If a hotspot layout file is set, UVLayoutEditor will be opened.
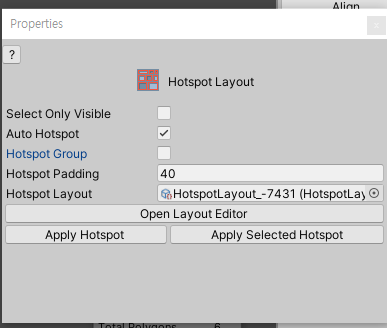
8.Apply Hotspot
If enabled, the hotspot texturing will be applied to the selected polygons. The selected polygons’ UV coordinates will be placed in the most appropriate layout.
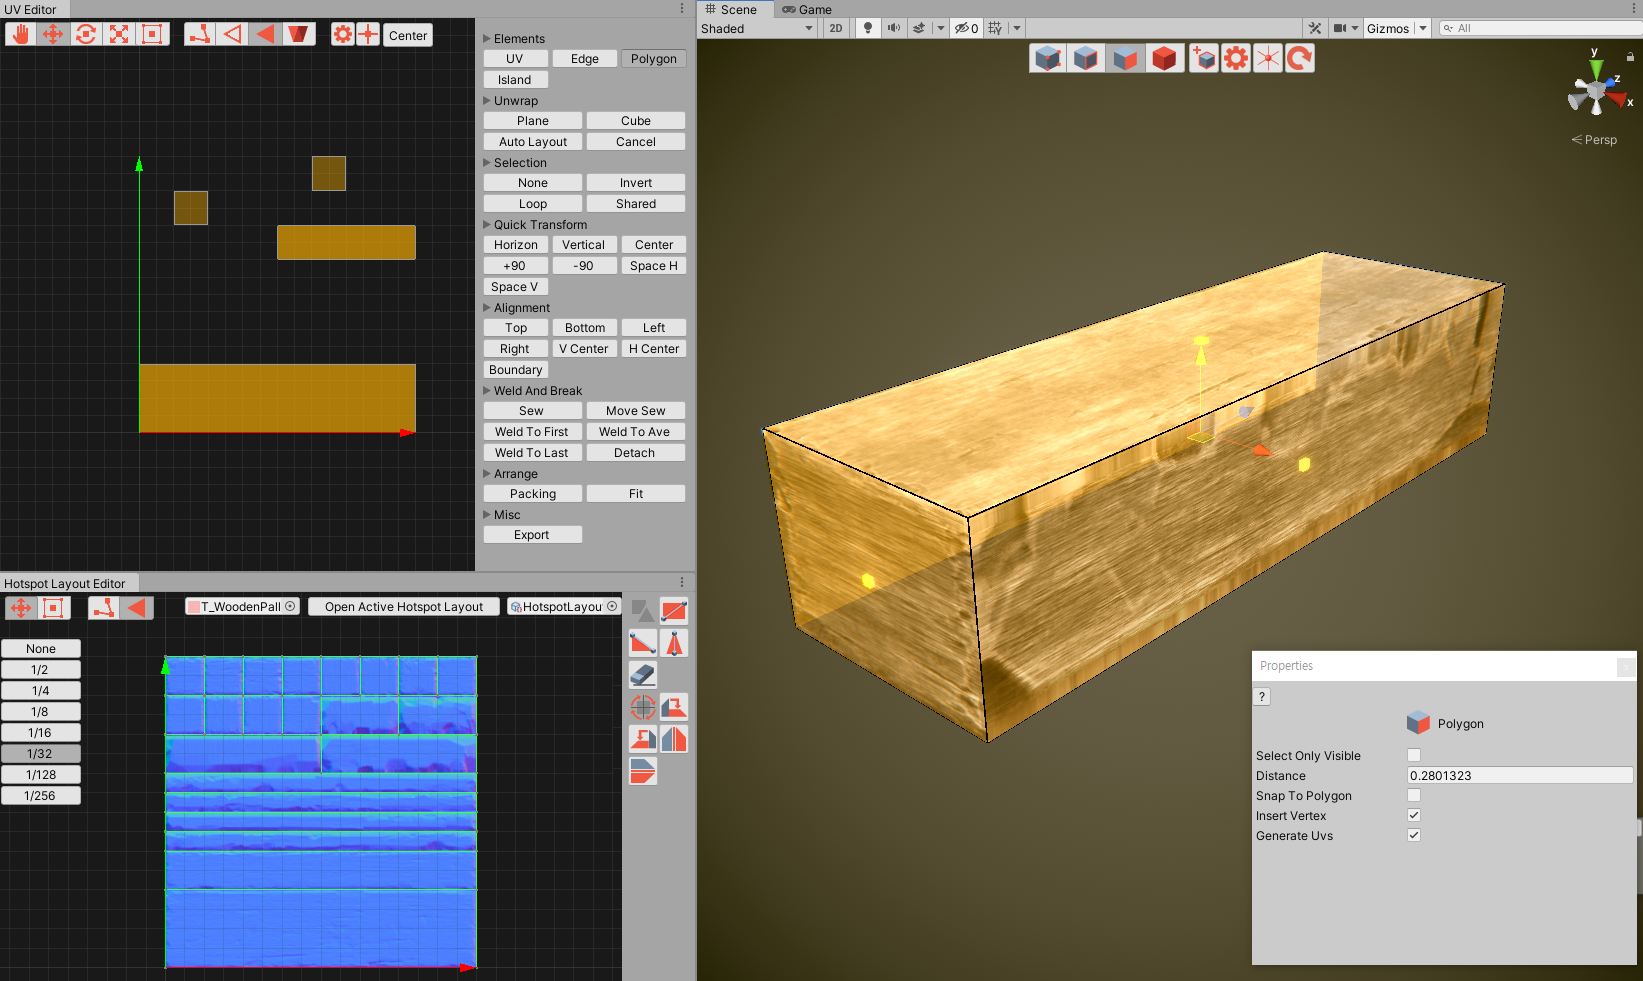
9.Apply Selected Hotspot
If enabled, the selected polygons’ UV coordinates will be placed in the selected hotspot layout.